Guides › Enlarge an image to poster size
How to Enlarge an Image to Poster Size for Free
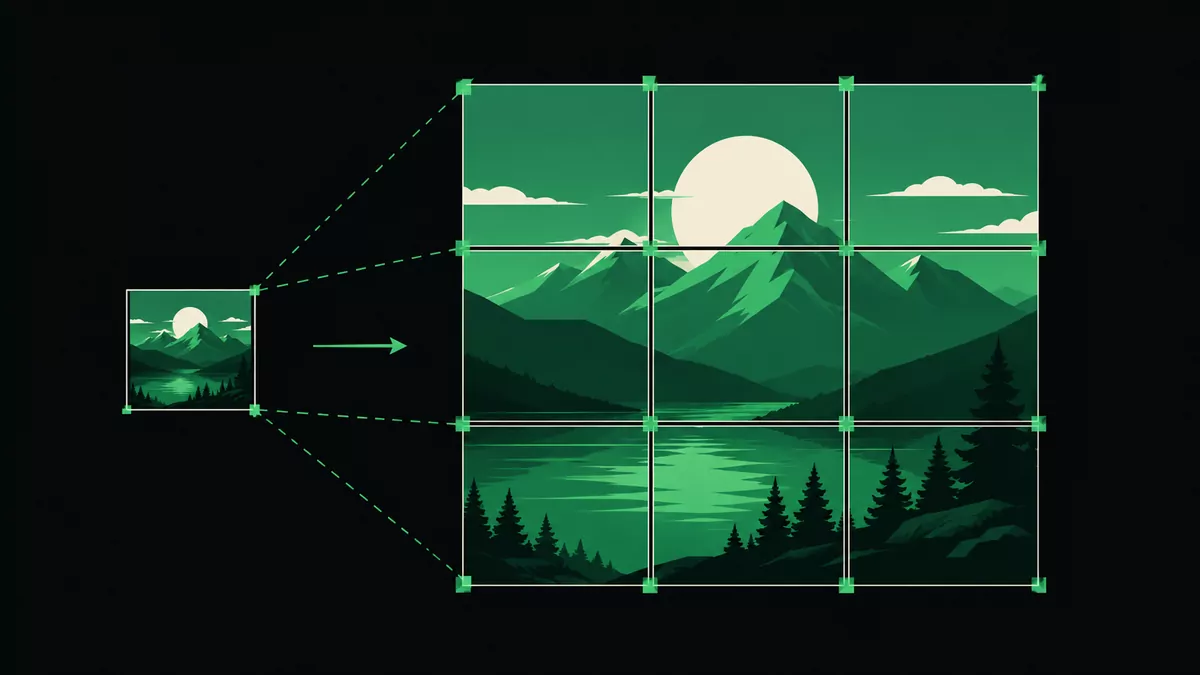
You don't need Photoshop or a print shop to blow a picture up. Tile the image across multiple pages at the exact size you want and print it on a regular home printer — for free.
A note on resolution
Enlarging stretches the pixels you have, so the bigger you go, the softer fine detail becomes. Posters are viewed from a distance, so this is rarely a problem — but start with the highest-resolution version of your image you can find for the sharpest result.
Step by step
- Upload your image to Maker Mosaic.
- Set the finished size. Use the Measure tool to define how wide or tall the final print should be in centimetres or inches.
- Pick paper and overlap. Letter, A4, or A3, plus a small overlap margin for alignment.
- Check the page count shown live in the print panel, then export a PDF or ZIP.
- Print at 100% / actual size and assemble the tiles.
Make it look professional
- Use 300 DPI if you'll view the poster up close.
- Add a thin border in your image so trimming is forgiving.
- Mount the finished print on foam board or laminate it.
FAQ
Will a low-resolution image look bad?
It will be softer up close but usually fine at poster viewing distance. Start with the largest source file you have.
Do I need an account?
No account, no upload — everything runs in your browser.
What's the largest size I can print?
There's no fixed limit; the tool just adds more pages as the size grows.